Get ready to pinch, cut, roll and build-up layers of clay for the epitome of a hands-on experience. I love molding clay and my enthusiasm is infectious. My students are always ready for a class with clay. It can be a messy business, so here are some tips that I learned while playing, and teaching, with clay.
What is Clay?
Clay is a natural substance made from minerals, animal and plant life and other things that have decomposed in the soil. These ingredients are filtered through sand and gravel creating silt that settles into beds of clay. Time and gravity have provided the pressure that melts everything together. It is usually found near streams and ancient riverbeds.
Wet Clay
Wet clay is naturally occurring earthen clay that mixes with water. The four main types of wet clay are stoneware, earthenware, terra cotta and porcelain. These have different properties that define their color, workability and purity. Porcelain is very smooth and pure and earthenware and terra cotta are rougher and have small pieces of debris or sand. The amount of time the particles had to filter and the distance they traveled from their source determine the type of clay it is.
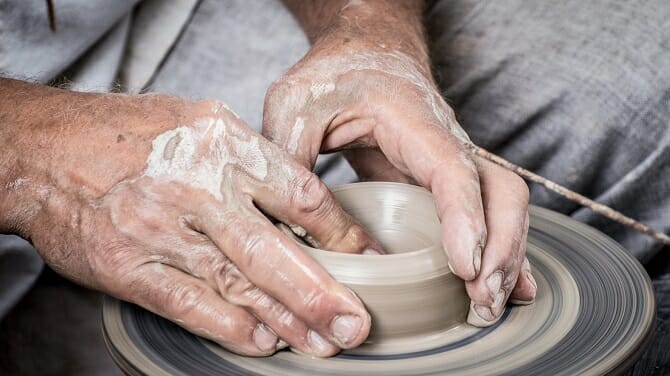
Air Dry Clay
Air dry clay is very popular for classroom projects because it will harden at room temperature and does not need to be heated in a kiln at high temperatures like traditional clay or heated in an oven as polymer clay is. When the item has dried and harden, it can be painted or decorated.
Air dry clay is very pliable and can be coiled, scored, welded and pinched into infinite shapes. Drying may take about a week and it needs to be thoroughly dry before it is painted. The exact time will depend on the temperature of the room and the thickness of the clay. Here is a video that shows the many ways your class can create with air dry clay.
Rules and Tools for Working with Wet Clay
Tools for You and Your Students:
- You will need a wire or nylon fishing line for cutting the clay into equal pieces for each student.
- A piece of damp cloth for each student that they can wrap around the clay they are not using.
- A small container for water your students can stick their finger in.
- Toothpicks or small sticks for making small cuts or designs. If you want more sophisticated tools you can buy rakes, spatulas and kidneys and other wooden or metal tools for scraping and cutting clay.
- A centrally located bucket where children can put stray pieces of clay so they don’t track clay around the school. Even the youngest can be taught to pick up any pieces they see on the floor and put them in the bucket.
Best Practices
When your students have a chunk of clay that fits easily in the hand they will use the flat of their hand to roll the clay into a ball on the table surface. For pre-school and kindergarten, some teachers pre-roll the clay and give the children balls. This is considered the best beginning for most children as they often make pinch pots first.
Once they have an approximate ball, they will work the clay on a piece of paper. It can be any paper from old newspapers to paper towels. This is so they can peel the paper off their creation without damaging it. If they work on the table, it will stick to the table and be damaged when they try to get it off.
If someone forgets and works on the table, you may be able to remove the creation with your wire by cutting at the bottom, but this is only successful for some shapes. If it has legs, this isn’t a good idea.
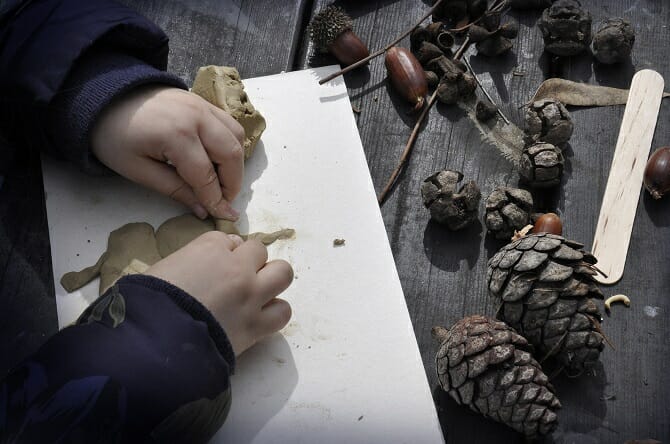
The first step is to flatten the ball on the paper so you have a small, clay platform on which to build your creation. The rule is every part of your creation has to be as thick as your finger. Tiny pieces of clay will most likely break off. If your students are very young and have very small fingers, let them use their thumbs.
When you want to attach two pieces of clay, you need to use a drop of water on one piece and rub it around so it creates slippery mud called slip. Another piece of clay can be twisted into the slip and will stick. This is one way to build with clay. If you don’t do this, when the clay dries, all the pieces you attached will fall off.
If you watched the video above on air dry clay, you know that gluing two pieces together is a bit different than wet clay.
Remember, your students need to have fun with their clay. Some children can’t create in clay what they see in their minds. This can cause frustration even to the point of tears. You can help avoid this by giving your students realistic expectations and examples that are easy to copy. Once you have done it yourself, you can take them step by step to a simple finished product, before they charge ahead on their own creations.
This video gives you a more detailed explanation of the guidelines above.
Safety in the Art Room
Safety is a high priority for every aspect of your classroom and art activities are no exception. Some of the ways to ensure a safe environment are:
- Explain each safety rule to your students in age-appropriate language
- Hang attractive safety rule posters in the classroom
- Make sure all the materials you give to children have labels that say they are safe for children to use
- Only give small amounts of clay to pre-school and kindergarten children as they still tend to taste everything
What Safety Concerns to Look Out For
- Toxic paint, glue or other crafting material
- Regular hand washing after working with materials
- Students should not eat or drink during art classes
- Slippery places on the floor due to spilled water
- Proper ventilation
- Only use a kiln when the children are gone
- Look for open wounds on hands of children working with clay
Learn more details by reading this article.
Getting Started with Tips and Shortcuts
If you haven’t had a clay-based project yet as an elementary school teacher, here are a few things I learned to help you get off on the right foot and avoid some of my mistakes.
If you don’t have access to a kiln, don’t even bother with wet clay. Start with air dry clay and avoid frustration. Your kids can make figurines and other objects but not mugs and candle holders as air dry clay is not heat-resistant or waterproof.
As I mentioned above, make sure all of your students understand the rules before they even see the clay.
Make sure your students find a place to put their initials on their work. I can be very small at the bottom or as a decoration, but an unnamed project can be a source of problems and hurt feelings.
Keep everything you need for the class in one place. Any tools, brushes, stamps, water cups and a bucket for clay scraps should be close by. You can use a trolley or special closet or shelves. This helps kids take what they need and put it back for someone else to use. This should be added to the rules.
Unless your sink has a clay trap, and most don’t, your children need to remove any excess clay on their hands before they wash them. One solution is to pass out wet wipes. Any brushes and tools covered with clay can be soaked for easy rinsing later. If there are clumps of clay on or in the sink, it should be removed with a paper towel and not washed down the drain.
You and your students should avoid wearing rings and bracelets on clay day. Also, everyone should trip their nails before starting, and this you can tell the parents in advance. Long nails and working with clay don’t go together.
If you have access to a kiln and plan to fire your student’s creations, make sure there is no glaze on the bottom of the piece. If glaze is there, it will stick to the shelf after firing. This will not only ruin the piece, it will make a big mess in the kiln that needs to be scraped and sanded.
Great Ideas for Clay Projects
As you might expect, Pinterest has some great ideas from teachers who are familiar with clay in their classrooms and want to pass along their results. Check here to see what is possible:
Here are some ideas for the very young:
These are slightly more complicated but no less fun:
These are very sophisticated and gift-worthy:
Conclusion
If you have avoided using clay for projects in your classroom because you want to avoid the perceived mess and complication, I hope I have changed your mind. Here you found ideas for advanced preparation, storage, tools and methods that elementary children of all ages can understand. When all the projects are finished, you can show each piece to the whole class using a document camera. If your students are lucky enough to enjoy flexible seating, you can organize a space just for clay use. Creating objects out of clay can be a precursor to 3D printing, which is even more amazing.
Last Updated on August 25, 2020 by Emily
- Facebook9
- Twitter21
- Pinterest67
- 97shares


